
The Spray Paint Application Process:
1. Choose your location. A well-ventilated location will protect you from paint fumes. Outdoors is best, but an open garage is a good second choice. Otherwise, open as many windows as possible and use a fan while spraying and drying.
2. Protect from overspray. Set small projects in a deep cardboard box, or put down a drop cloth when working with bigger pieces.
3. Prepare the surface. For best results, most materials must be cleaned, sanded, and dried before spray-paint application. Applying a primer will result in a smoother surface, truer color, and longer-lasting finish.
4. Read all directions. Check the can for the proper spraying distance and drying times before you begin painting.
5. Test your spray paint. Try a practice spray on a piece of scrap material in the same surface as your project. A steady spray tool offers an easy-to use trigger that creates an even stream of paint.
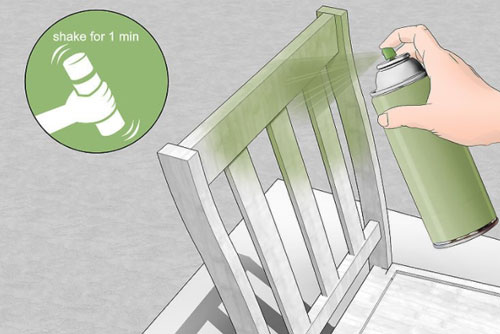
6. Apply multiple thin coats. Sweep the can across the project, beginning and ending each coat off the side. Complete a coat over the entire project at one time, instead of working in stages. This will give you more consistent color and finish. Consult the canister for the recommended time to apply several coats before allowing time for the paint to cure, known as the "recoat window."
7. Allow the project to dry. Different brands and finishes require specific drying times. Wait the recommended time before moving the project from the work area.
8. Clean spray valve. Prevent clogging by holding the can upside down and spraying until only a clear gas is released. If a tip does become clogged, wipe off the opening with warm water or lacquer thinner. Never stick a pin or wire into the hole.